开始之前
完成第 23 课,另存为 Lesson24;禁用旧 Patrol,避免两个脚本同时指挥机器人。
 编程学院
编程学院
Roblox Studio · 第 24 课
用 PathfindingService 计算路点,处理跳跃、无路可走和路径被挡住的情况。
Course overview
上节课我们亲眼看到,直接朝目标走可能被墙挡住。PathfindingService 会根据可通行区域计算一串路点,再由 Humanoid 逐个走过去。
规划成功和行走成功仍是两件事。墙会移动,路可能被封死,你要让机器人承认失败,而不是一直卡住。
完成第 23 课,另存为 Lesson24;禁用旧 Patrol,避免两个脚本同时指挥机器人。
机器人绕过一面静态墙,走到 Goal;无路或途中被阻挡时安全停止。
能检查 PathStatus,处理跳跃路点,并在终点输出完成消息。
Learning route
每完成一小步,就测试一次。先说出你预计会看到什么,再用 Play 和 Output 检查,不用急着一次写完所有代码。
保留 PatrolBot,在前方放一面墙,让左右至少有一侧可以绕行。不要把目标塞进封闭箱子里,然后期待算法穿墙。
CreatePath 中的 AgentRadius 和 AgentHeight 描述机器人需要的空间。通道太窄,规划器就不应把它当作可通过路线。
路点包含 Position 和 Action。Action 为 Jump 时,先让 Humanoid.Jump=true,再走向路点。
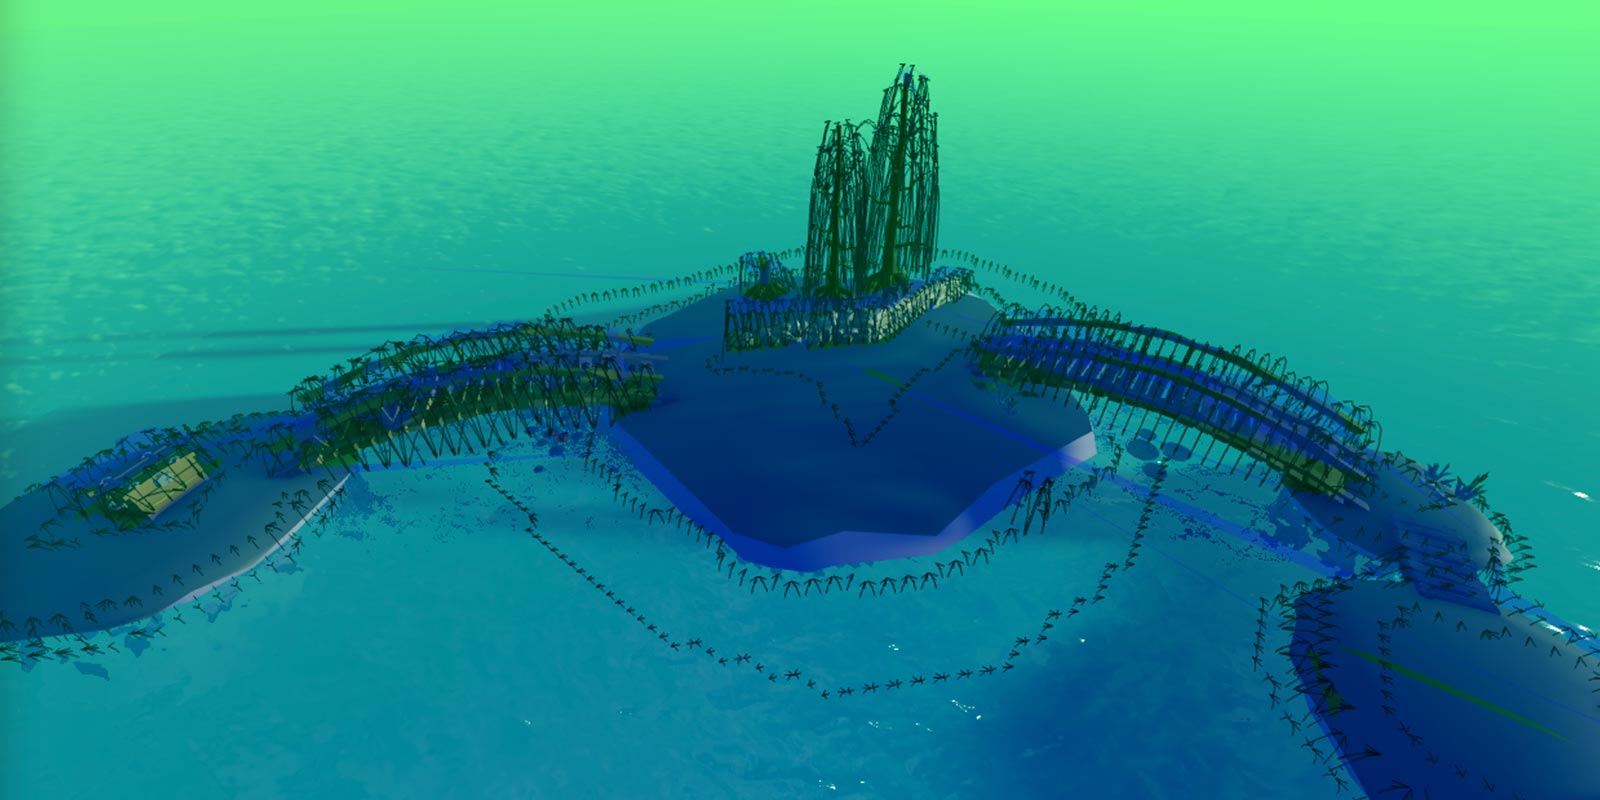
Studio 的可视化选项可以显示 Navigation Mesh。它帮助你观察系统认为哪里能行走,而不是只看模型表面似乎连着。
可靠的机器人不需要每次都成功,但必须让你知道为什么停止。没有可用路径、移动超时和前路被阻挡,都是需要处理的正常情况。
Step by step
保留 PatrolBot,在前方放一面墙,让左右至少有一侧可以绕行。不要把目标塞进封闭箱子里,然后期待算法穿墙。
插入 Goal 路标,并禁用旧 Patrol。相同 Humanoid 同时接收两个脚本的 MoveTo,会让结果难以理解。
Step by step
CreatePath 中的 AgentRadius 和 AgentHeight 描述机器人需要的空间。通道太窄,规划器就不应把它当作可通过路线。
ComputeAsync 可能出错,因此用 pcall 包住;计算结束后还要检查 path.Status 是否为 Success。pcall 成功只代表调用没抛错,不代表一定有路。
Step by step
路点包含 Position 和 Action。Action 为 Jump 时,先让 Humanoid.Jump=true,再走向路点。
Blocked 只关心当前或后方将要经过的路点。如果前方路线被阻挡,本例停止并提示重新测试;它没有实现动态重新规划,避免把入门课变成追逐 AI。
local PathfindingService = game:GetService("PathfindingService")
local bot = workspace:WaitForChild("PatrolBot")
local humanoid = bot:WaitForChild("Humanoid")
local root = bot:WaitForChild("HumanoidRootPart")
local goal = workspace:WaitForChild("Goal")
root:SetNetworkOwner(nil)
humanoid.WalkSpeed = 8
local path = PathfindingService:CreatePath({
    AgentRadius = 2,
    AgentHeight = 5,
    AgentCanJump = true,
})
local ok, message = pcall(function()
    path:ComputeAsync(root.Position, goal.Position)
end)
if not ok or path.Status ~= Enum.PathStatus.Success then
    warn("No usable path:", message, path.Status.Name)
    return
end

local nextIndex = 2
local blocked = false
local connection = path.Blocked:Connect(function(index)
    if index >= nextIndex then
        blocked = true
        humanoid:MoveTo(root.Position)
    end
end)
local finished = true
local waypoints = path:GetWaypoints()
for index = 2, #waypoints do
    nextIndex = index
    if blocked or humanoid.Health <= 0 then finished = false; break end
    local waypoint = waypoints[index]
    if waypoint.Action == Enum.PathWaypointAction.Jump then humanoid.Jump = true end
    humanoid:MoveTo(waypoint.Position)
    local reached = humanoid.MoveToFinished:Wait()
    if not reached or blocked then finished = false; break end
end
connection:Disconnect()
if finished then print("Reached goal") else warn("Route interrupted; test a new route") end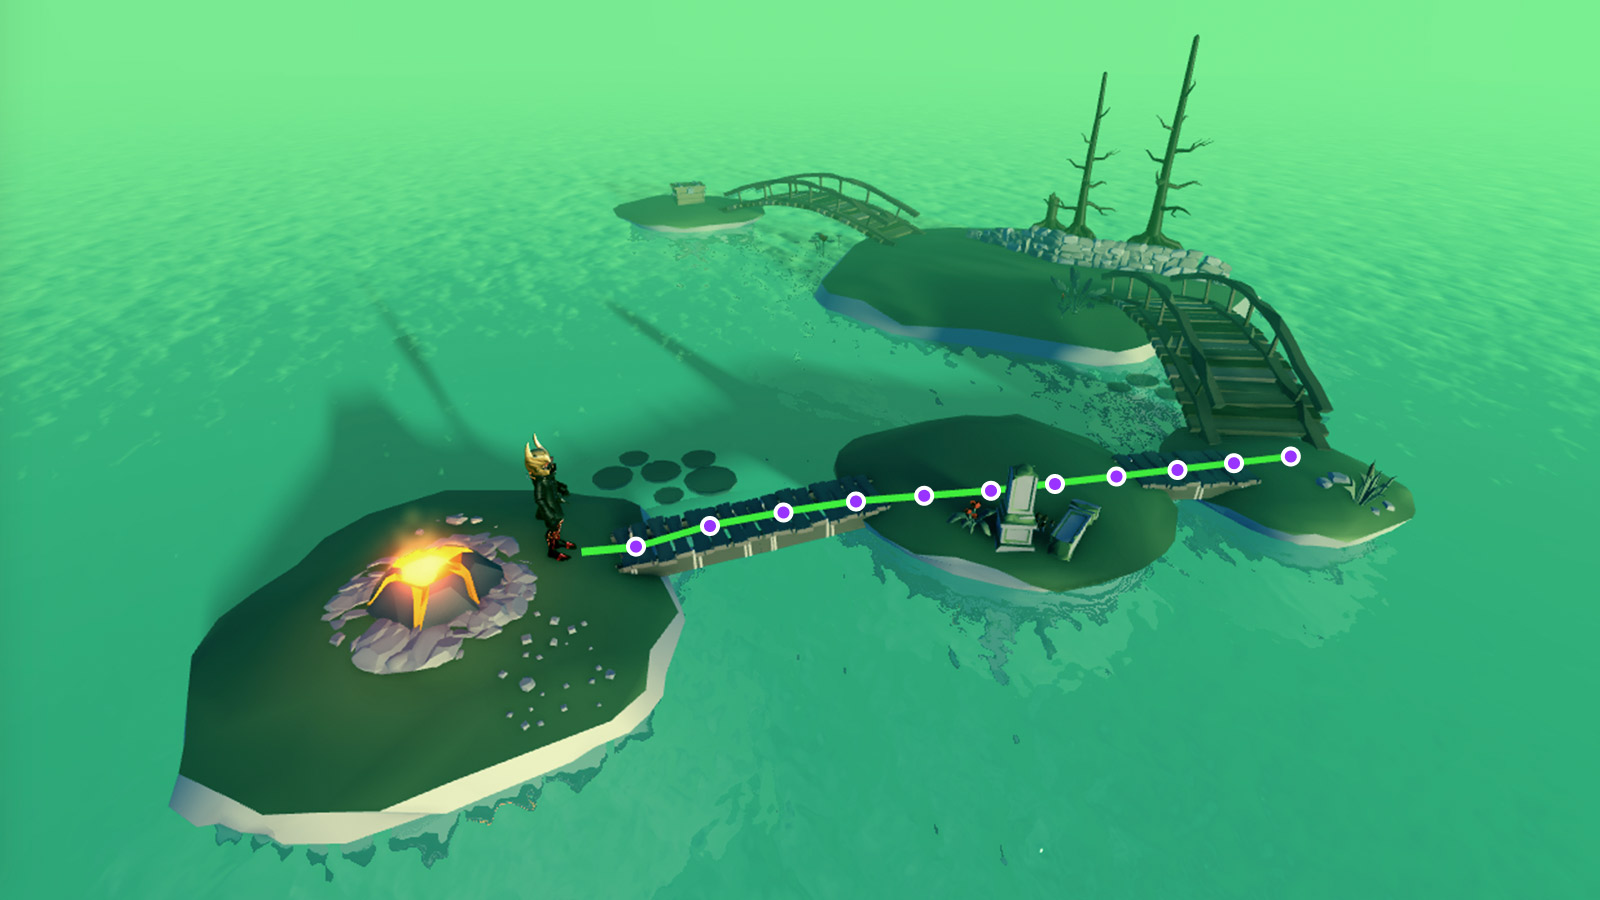
Step by step
Studio 的可视化选项可以显示 Navigation Mesh。它帮助你观察系统认为哪里能行走,而不是只看模型表面似乎连着。
图片中的彩色区域和路点属于官方寻路示例。你的墙与 Goal 更简单,但检查方式相同:有没有足够空间绕过去。
Step by step
可靠的机器人不需要每次都成功,但必须让你知道为什么停止。没有可用路径、移动超时和前路被阻挡,都是需要处理的正常情况。
本例适合固定小场景。持续追踪移动玩家时,需要节流重算、取消旧任务和处理流式加载,不能简单每帧调用 ComputeAsync。
Homework
分别从墙左侧、右侧留通道,观察路径选择。
记录一次无路可走的测试,截图并说明你怎样修复地图。
加入可跳的小台阶,观察 Jump 路点;保持下方安全地面。
Exit questions
不是,还要检查 path.Status 是否为 Success。
有些路点需要跳跃,只有 MoveTo 不一定完成动作。
不会,它会停止并报告。动态重算是更进一步的功能。
任务结束后不再需要监听,避免保留过期回调。
Explore further
正文代码可以直接复制。先确认脚本类型、放置位置,以及这段代码是完整版本还是小实验;不要把同一脚本的多个版本叠加运行。界面参考图已标注来源,图中的对象名可能与本课不同,请以操作步骤为准。